Showing posts with label Every Day Jar Framelits. Show all posts

Thursday, October 31, 2019

Happy Halloween with Addicted to Stamps

Hey there, 

Thanks for stopping by.  I have a second post today in celebration of Halloween!!!

Addicted to Stamps and More has some awesome photo inspiration!  I just love all of those little pumpkin faces.


Here is a card I made to celebrate Halloween.  


I used my true, blue favourite, Every Day Jar Framelist and Jar of Haunts stampset.  They are both retired Stampin'UP! products, but love them way too much to let them go.  


Love these Halloween faces.  

Be sure to see all of the Halloween creations over at Addicted to Stamps.

Happy Halloween from my family to yours,

Tammy


Image may contain: 7 people, people smiling, text

If you live in Canada, I would love to be you demonstrator!  For every order placed in my on-line store, I will forward an exclusive Tutorial Bundle created by 8 wonderfully talented demonstrators from around the world!


Love Stampin'UP! and want to take advantage of an amazing discount, join my team and get a new tutorial bundle for free each month!

Monday, September 3, 2018

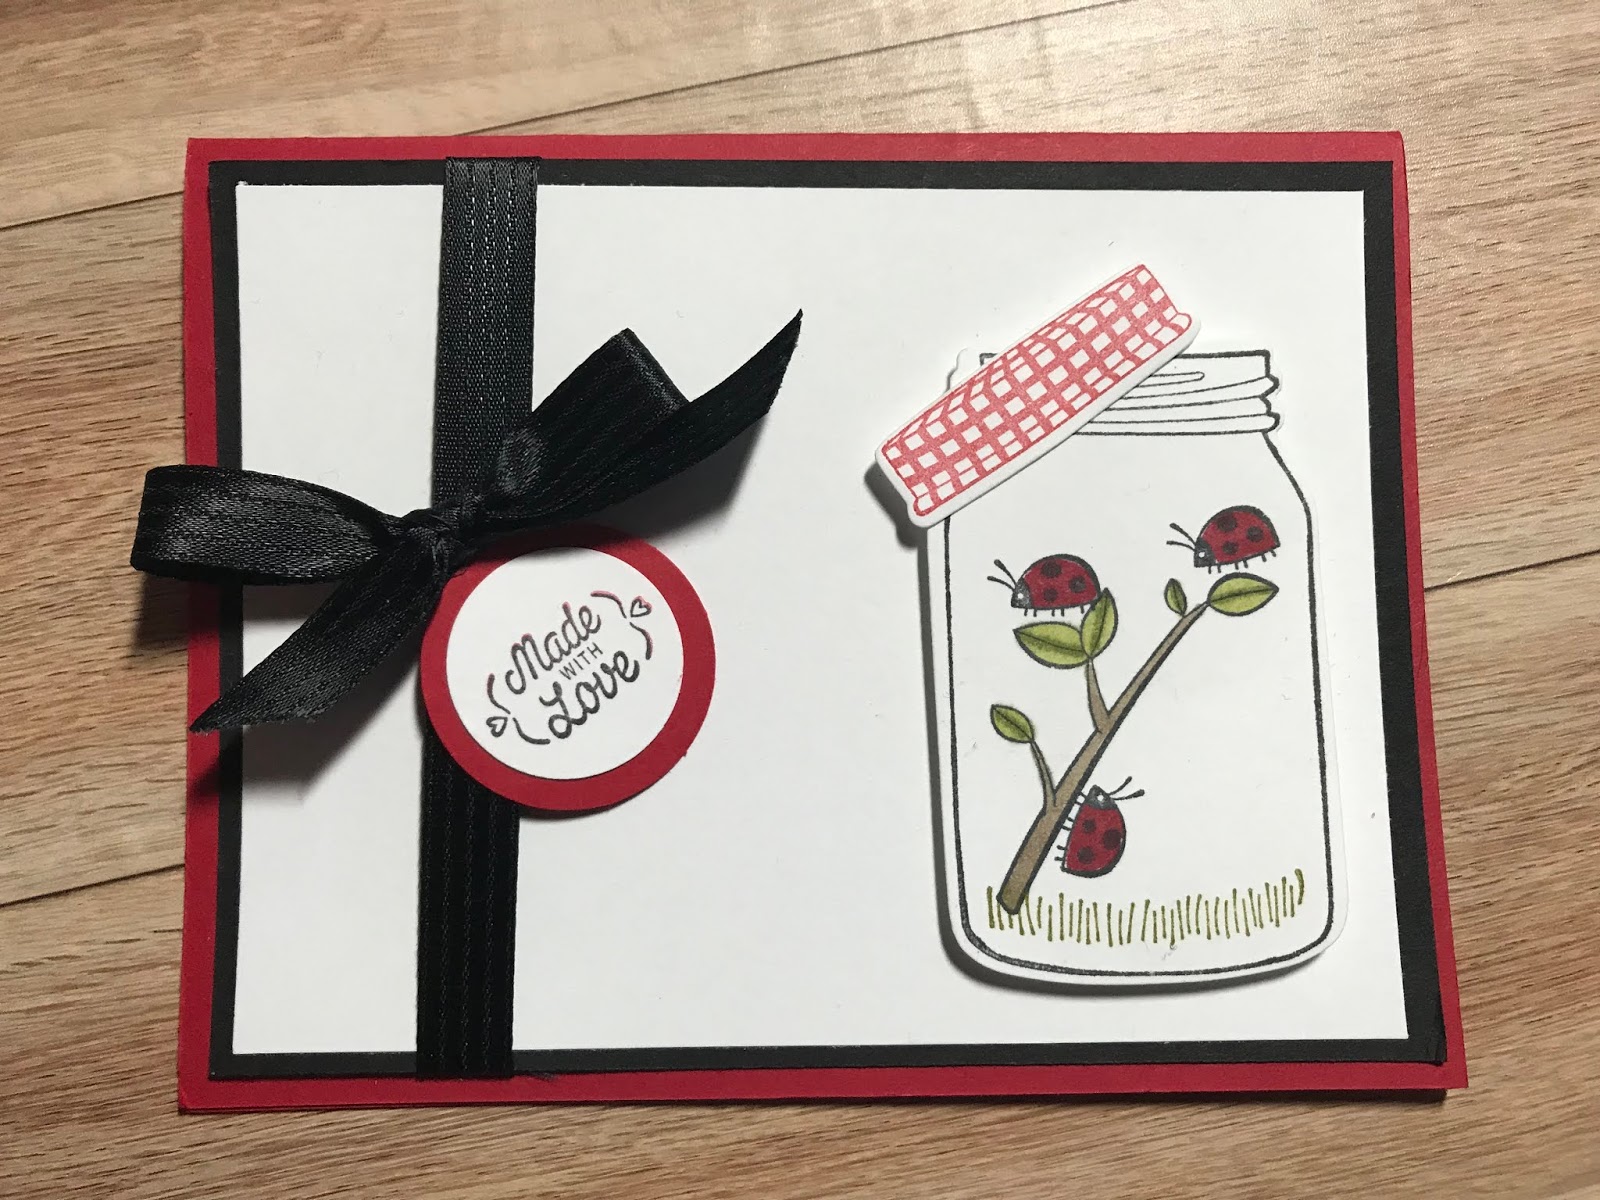
Lady Bug Jar of Love

Hello my stampin' friends,

It is the final long weekend of summer here in Ontario and we are enjoying this last day before it is back to school for all three of my boys!  It is second year university for my oldest, grade 10 for my middle and grade 5 for my youngest.  They are not that excited, but I can't wait to get into a fall routine.

In the midst of getting backpacks ready and getting fruits and veggies all cut for lunches, I decided to join the fun with the challenge over at Watercooler Challenges.

It is an anything goes challenge.  Should be fun!

Here is my card to share today.  
 

I also love a black, white and red theme.  I think perfect timing for back to school. Perfect for some lady bugs in a jar and any opportunity to use my Jar of Love stampset and Everyday Jar framelites AND my Stampin' Blends - yes please!
  

Colouring these little spaces took a delicate hand, but I think they turned out cute.  I finished my card off with beautiful ribbon and a big bow.

Be sure to stop in and see all of the projects submitted to the challenge at
Watercooler Challenges.

Happy Stampin'

Tammy

September Specials


https://su-media.s3.amazonaws.com/media/Promotions/NA/2018/PP%20Halloween/08.07.18_PP_SHAREABLE_NEW_SPOOKY.jpg

Sign up for your paper pumpkin kit here

Friday, August 31, 2018

Fall Blogging Friends Blog Hop!

 Happy September 1st everyone!

It's blog hop time with my blogging friends.  This month we are sharing projects made using a picture for inspiration!  It is a beautiful fall picture.
 
Image may contain: table and indoor

Beautiful, right?  It makes me want to start my fall decorating!

I was honoured in July to have added 3 new members to my Stampers Inkspired team!  I wanted to make them some thank you gifts and so I used this picture to help.

So, for my blog hop today I have two projects I created for their thank you goodie bag.  

 To start, I purchased some of the new fun fall hand soaps at Bath and Body works - I am a sucker for the pumpkin scents!  lol  So, I just had to decorate them up with some tags.  They are a very similar tag to one you would put on a wine bottle for a hostess gift, just smaller.  These measure 3" x 7" and then scored on the long side at 3".  I then used my 2" circle punch to create the hole for the nozzle to fit through.  

  
One of my all time favourite things to do is punch art and fall is the perfect time!  I just love making pumpkins with my circle and oval punches or framelits.  I cut three of the same size and then sponge each of the edges.  My small circle pumpkin is made using Pumpkin Pie cards stock and ink and my larger pumpkin is made using Very Vanilla cardstock and Sahara Sand Ink.  The stems are a scrap of Old Olive.
 

The base of the tag is made using Early Espresso cardstock and the next layer is the Wood Textures DSP.  The greeting is from the Treehouse Adventure stampset, new in the annual catalogue!  I thought this greeting was fitting for a new demonstrator - what do you think?
 

My next 3D item to share is a hand stanitizer holder that I cased from one of my favourite demonstrators - Eric Cerwin of Pink Buckaroo Designs.  She has a video that shares how she made them and you can find that here.
 

I altered mine slightly and opted out of the peekaboo hole in the front.  The jars are made with the Every Day Jar Framelits and the greeting from the is from the Jar of Love stampset.  The colours I used are Real Red and Old Olive and the 'stem' is a scrap of Early Espresso.  I finished them off with some Twine.
 

I placed some apple scented hand sanitizer inside!  I just LOVE how they turned out. 

The thank you bags were finished off with a pair of papersnips and a giant chocolate bar - can always use some chocolate.  Two of the bags have been delivered and I will be delivering one more next week!  So excited to share this adventure with them.

Now, be sure to hop on through our blog hop to see everyone's creation.  Next up is Rick - I always love to see what he creates.

Happy stampin'

Tammy

https://stampinmak.wordpress.com/2018/05/01/bfbh-may2018/

https://wp.me/p2AuXD-4Fn


Tammy Gill - You are here!


Wednesday, January 31, 2018

Blogging Friends Blog Hop all in Red!

Image may contain: text

Hello my stampin' friends!

It is the first of the month...and y'all know that that means - time for another fun blog hop with my Blogging Friends.  We have a super fun hop today - all things RED!  Perfect for February.  

For this card I wanted to use a stampset and framelits that I haven't used in a while and that is one of my favourites - the Jar of Love and Every Day Jar Framelits.  They can both be found in the Annual Catalogue.  

With our theme being red, I automatically thought love.  Did you as well? But I wanted to showcase a card you could send to anyone who you love, best friend, child, someone who just means a lot.  Here is my card....

I LOVE how it turned out!  The colours are Real Red, Whisper White and Basic Grey.  To create the jar, I stamped directly onto the Whisper White using Basic Grey ink (handle included), then I stamped onto Vellum Cardstock also using Basic Grey.  I then cut it out using the framelits and attached the Vellum jar directly on top of the Whisper White Jar.   Wonder how you don't see the adhesive behind it?  I used Glue Dots in each of the four corners.  I did wrap my ribbon around the Vellum jar before putting it into place. 


See those darling little hearts?  Yep, one of the framelits that come with the set!  Who knew?  I hand't noticed them before.  The sentiment is also from the stampset.  Many cute sayings with this set too.

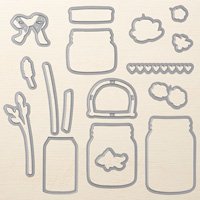
Everyday Jars Framelits Dies 
Price: $44.00
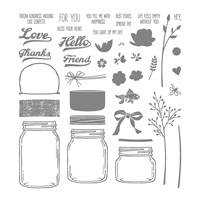
Jar Of Love Photopolymer Stamp Set
Live in Canada and don't have a demonstrator, visit my on-line store HERE!
Want to join my team?  Find out all the details HERE
 
Be sure to hop on through all of the blogs of my Stampin' Friends!  They always have awesome projects to share!

Happy Stampin'

Tammy

 Image may contain: text

Image may contain: text
Tammy Gill - you are here

Thursday, October 5, 2017

Grateful for You

Hi there,

so glad you stopped by.  I want to share with you one of my most favourite cards of all time.

I was looking for a bit of inspiration and found a great sketch over at Hand Stamped Sentiments and  Global Design Project had a very fitting theme - Thank you!


I wanted to create a timeless thank you card that could be used during any season.  

 The colours I used are Pink Pirouette, Blushing Bride, Old Olive, Pool Party and Whisper White. 
 For the jar, I used the Every Day Jar Framelits.  I used the middle sized jar thinlit and cut a Pool Party and a Velum Cardstock jar.  I layered them on top of each other and placed the glue on the top where the baker's twine was placed so it doesn't show through.  The sentiment is from the Jar of Love Stampset.
 These beautiful tulips were created using the hostess set Tranquil Tulips!  This set is a 2 step-stamping set where you layer the different stamps to create the beautiful layered and water coloured effect.  I just LOVE it!

 Thanks again for stopping by.  Be sure to visit Hand Stamped Sentiments as well as Global Design Project to see all of the wonderful cards created with these challenges in mind.

Don't forget all of the wonderful specials Stamin'UP! has.


L1_WCMD_Demo-Lower-Ad_NA 

L2_B3G1DSP_Demo_Oct_USUKCASP 
 Click the pictures above to shop these specials or learn more.

Happy Stampin'

Tammy